Task 2: Set up cross-origin resource sharing (CORS)
Introduction
Implementation
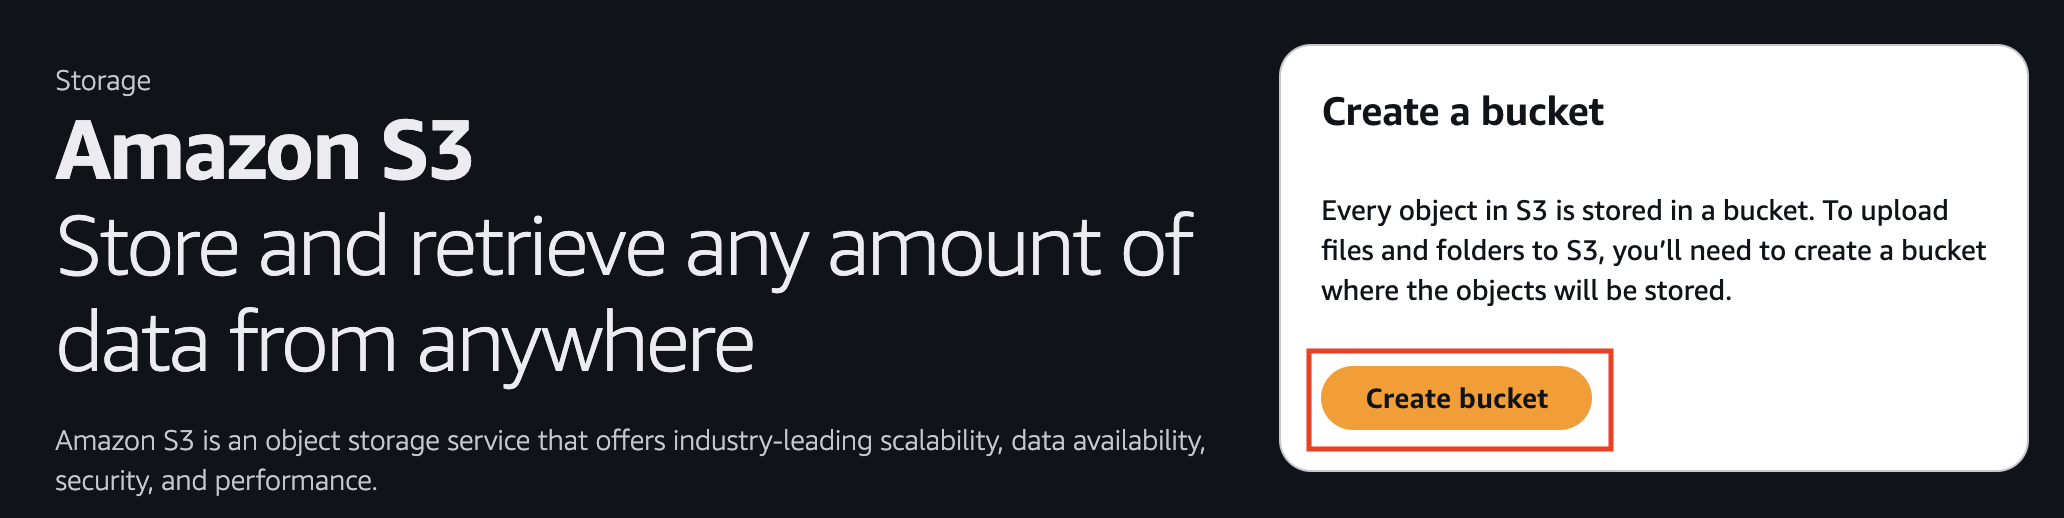
1. Create an S3 bucket
Open Amazon S3 console and choose Create bucket.
2. Configure bucket details
For Bucket name, enter a descriptive, globally unique name, for example, transfer-family-web-app-demo-<your-username>.
Leave the remaining options as defaults. Scroll to the bottom of the page and choose Create bucket.

Set up CORS
1. Open bucket permissions
After the bucket is created, on the General purpose buckets tab, search for the bucket you created, select its Name, and then choose the Permissions tab.

2. Configure CORS settings
In Cross-origin resource sharing (CORS), choose Edit and paste in the following code.
[ { "AllowedHeaders": [ "*" ], "AllowedMethods": [ "GET", "PUT", "POST", "DELETE", "HEAD" ], "AllowedOrigins": [ "AccessEndpoint" ], "ExposeHeaders": [ "last-modified", "content-length", "etag", "x-amz-version-id", "content-type", "x-amz-request-id", "x-amz-id-2", "date", "x-amz-cf-id", "x-amz-storage-class", "access-control-expose-headers" ], "MaxAgeSeconds": 3000 } ]Replace AccessEndpoint with the actual InstanceARN you copied in the previous task.
Note: Do not enter trailing slashes because trailing slashes will cause errors when users attempt to log into the web app.
Correct example: https://webapp-b4d851af6e314fc39.transfer-webapp.us-west-2.on.aws
Incorrect example: https://webapp-b4d851af6e314fc39.transfer-webapp.us-west-2.on.aws/
4. Choose Save changes.

Conclusion
Task 3: Create the instance
Did you find what you were looking for today?
Let us know so we can improve the quality of the content on our pages