Task 1: Create the web app
Introduction
In this task, you will create an AWS Transfer Family web app and assign your user to the app.
Implementation
1. Get IAM Identity Center instance ARN
Sign in to the AWS Management console, search for AWS IAM Identity Center, and confirm that you are in the correct AWS Region.
Select Settings and note the Instance ARN. (You will need it in a later task.)

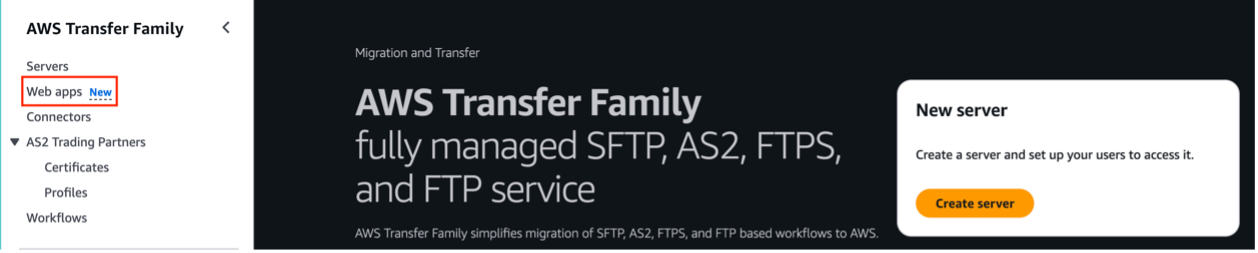
2. Open the Transfer Family console
Navigate to AWS Transfer Family and select Web apps.
3. Configure web app
Select Create web app to configure a web app.
Verify that IAM Identity Center is connected under Authentication Access:
For Permission type, choose Create and use a new service role.
For Web app units, choose 1 (up to 250 concurrent sessions).

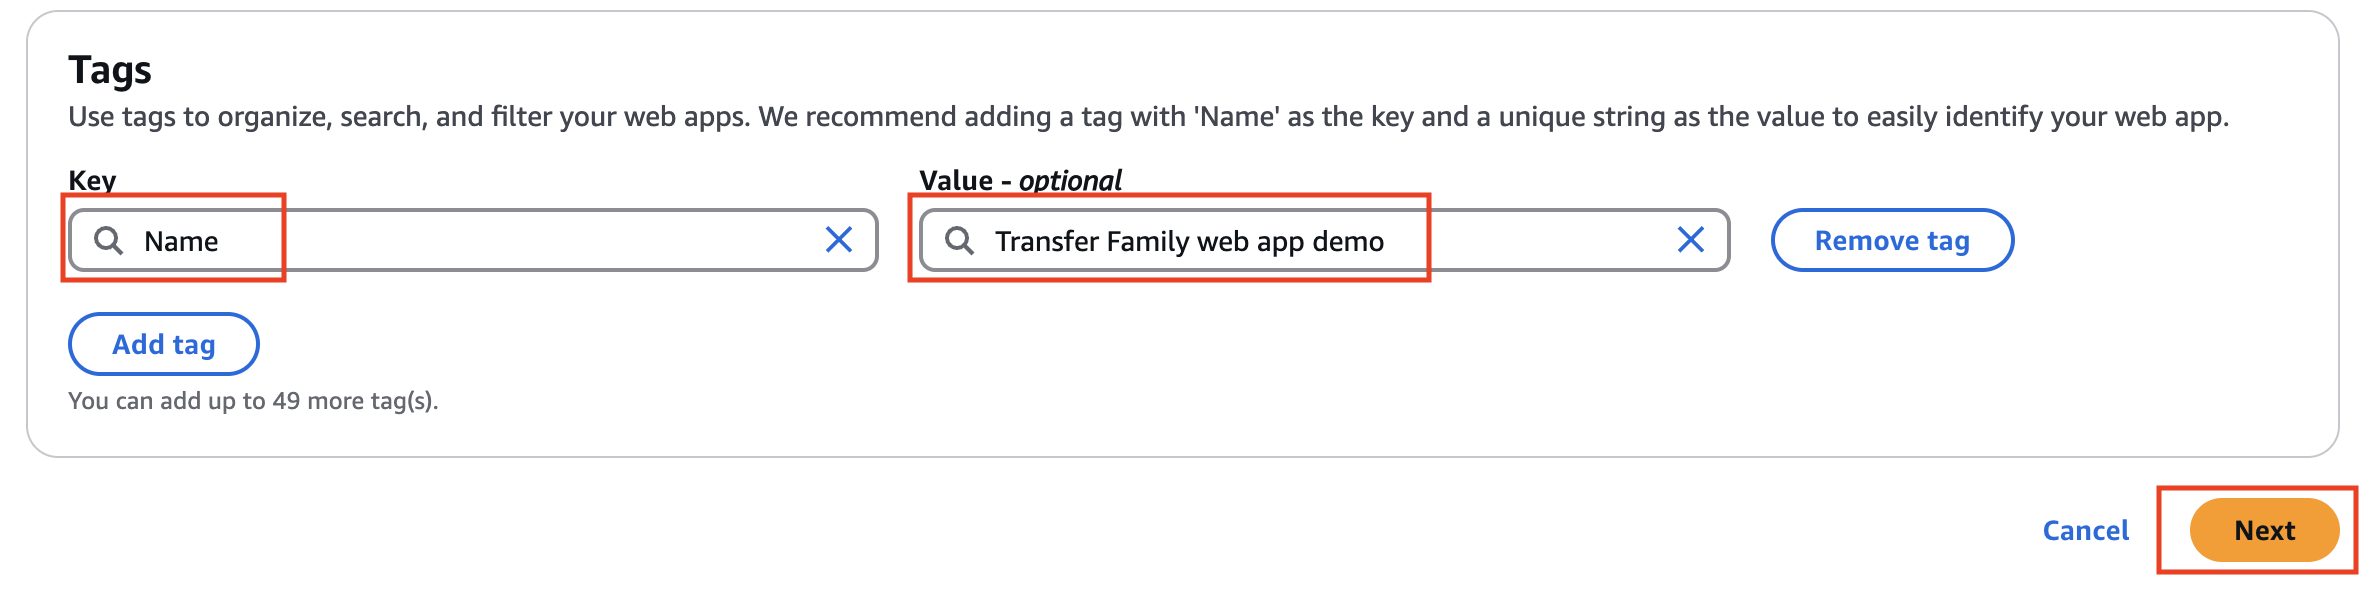
4. Add tags
For Tags, select Add tag.
For Key, enter Name.
For Value, enter Transfer Family web app demo.
Choose Next.
5. Customize web app
On the Design web app page:
For Page title, enter AWS Transfer Family Web App Demo.
(Optional) Upload a logo.
Choose Next.

6. Create web app
Choose Next and review your inputs.
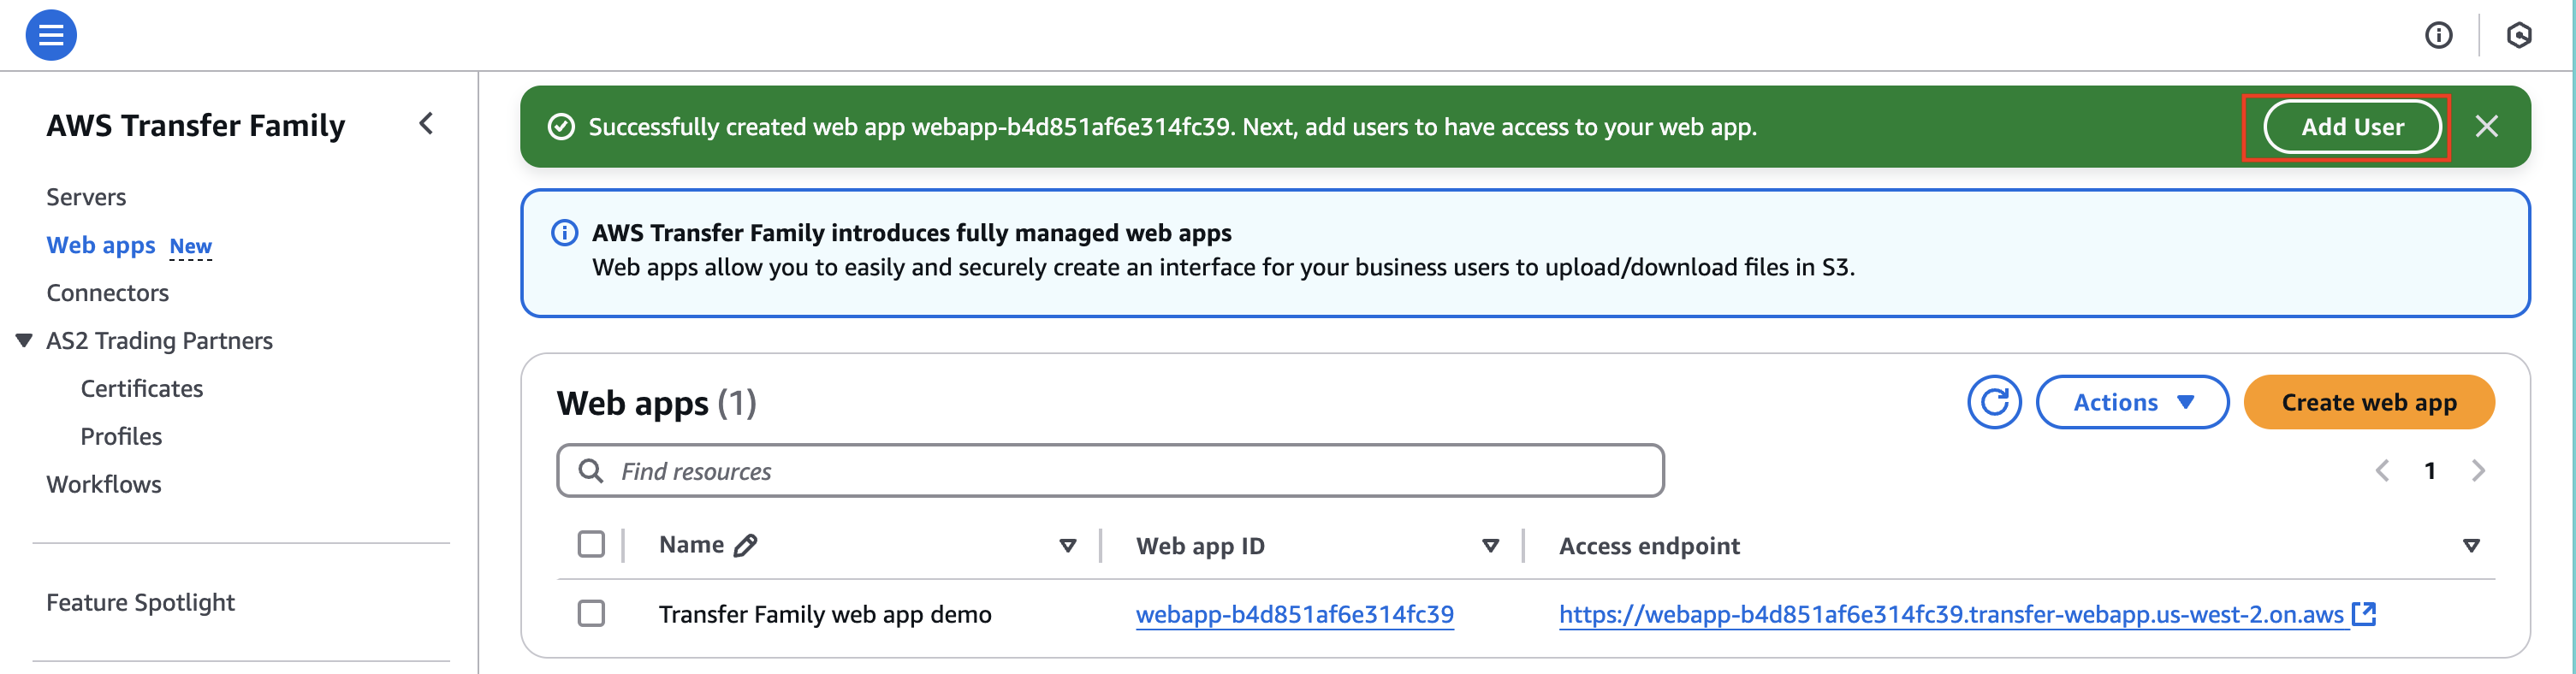
Choose Create web app.
Once the web app is created, choose Add User.
Assign your user
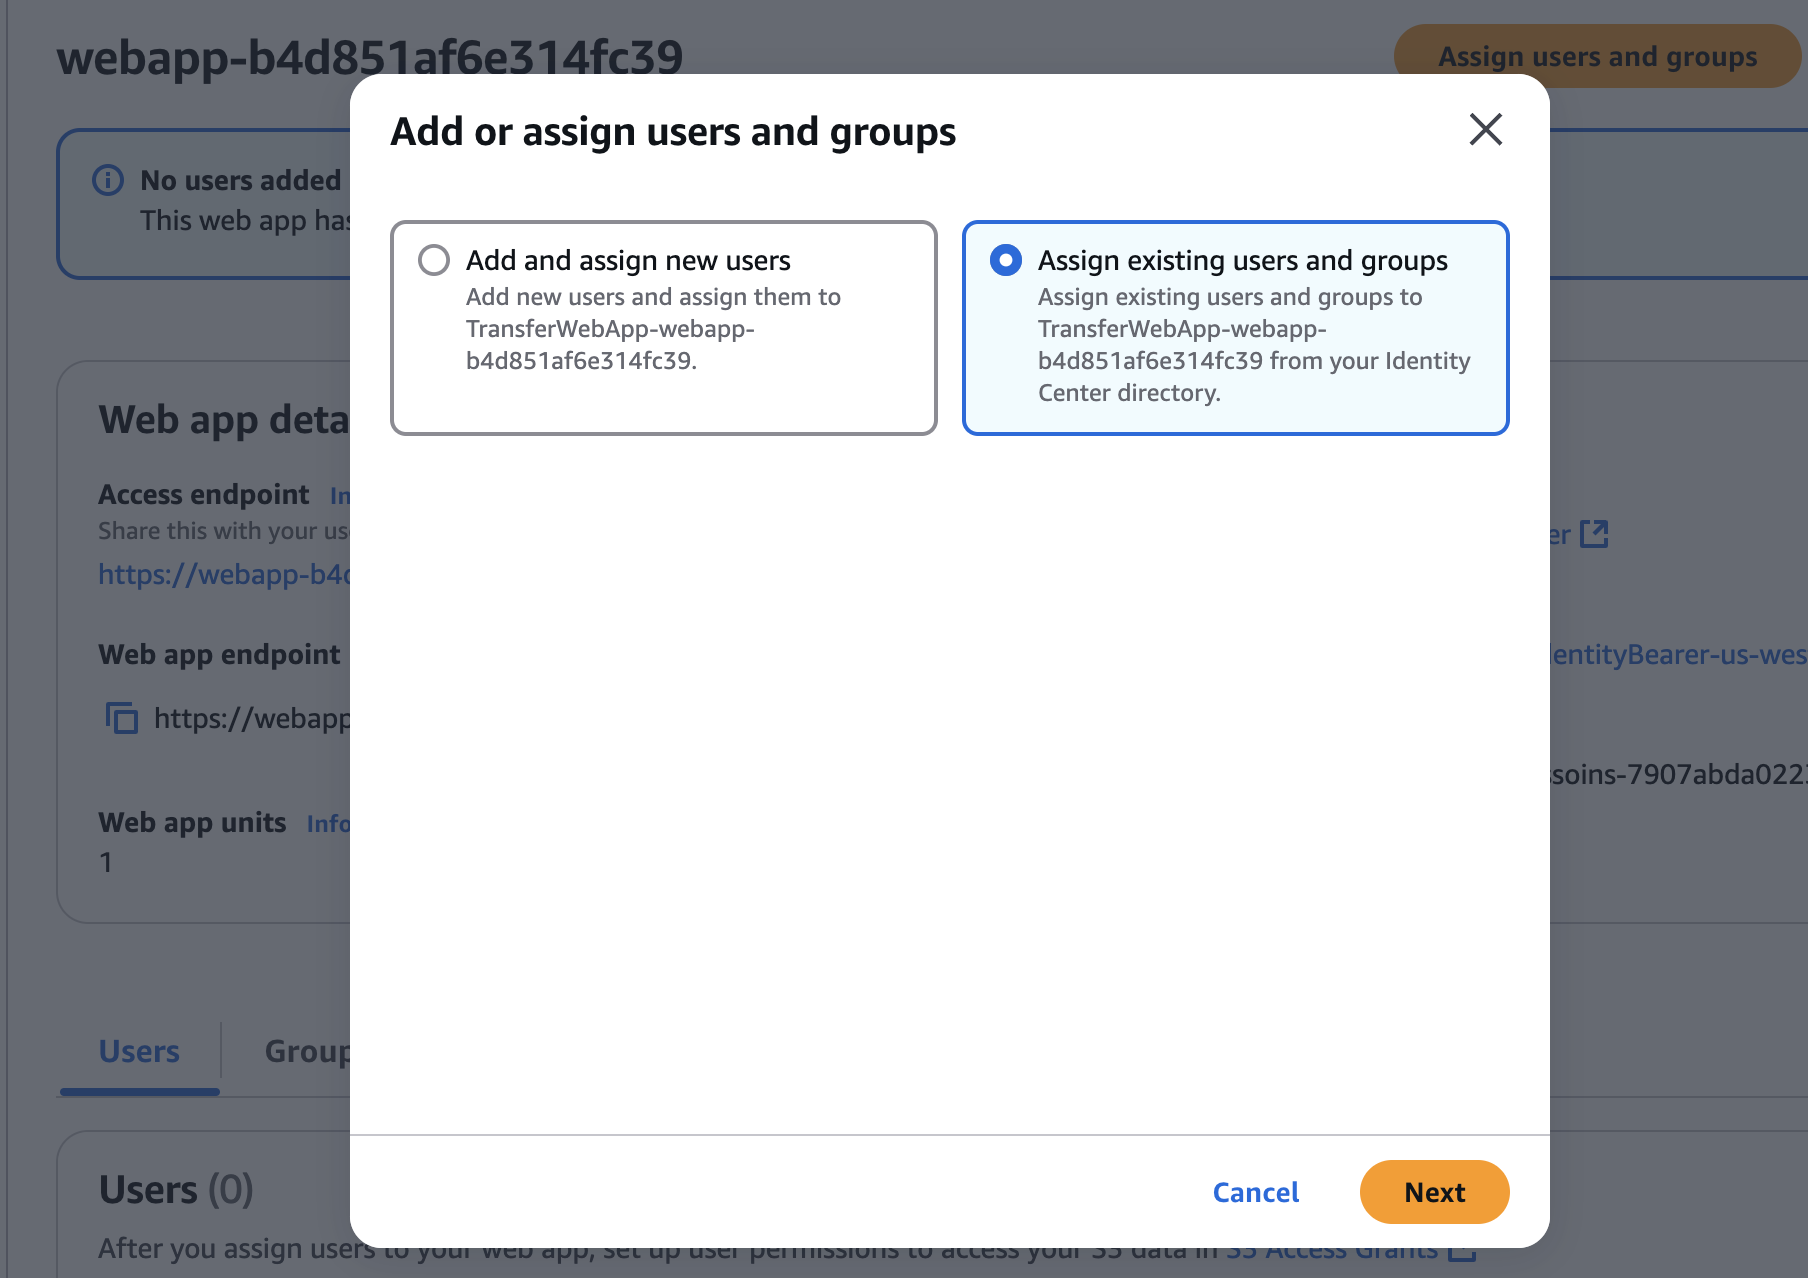
1. Assign users and groups
Choose Assign users and groups.
Select Assign existing users and groups.
Choose Next.
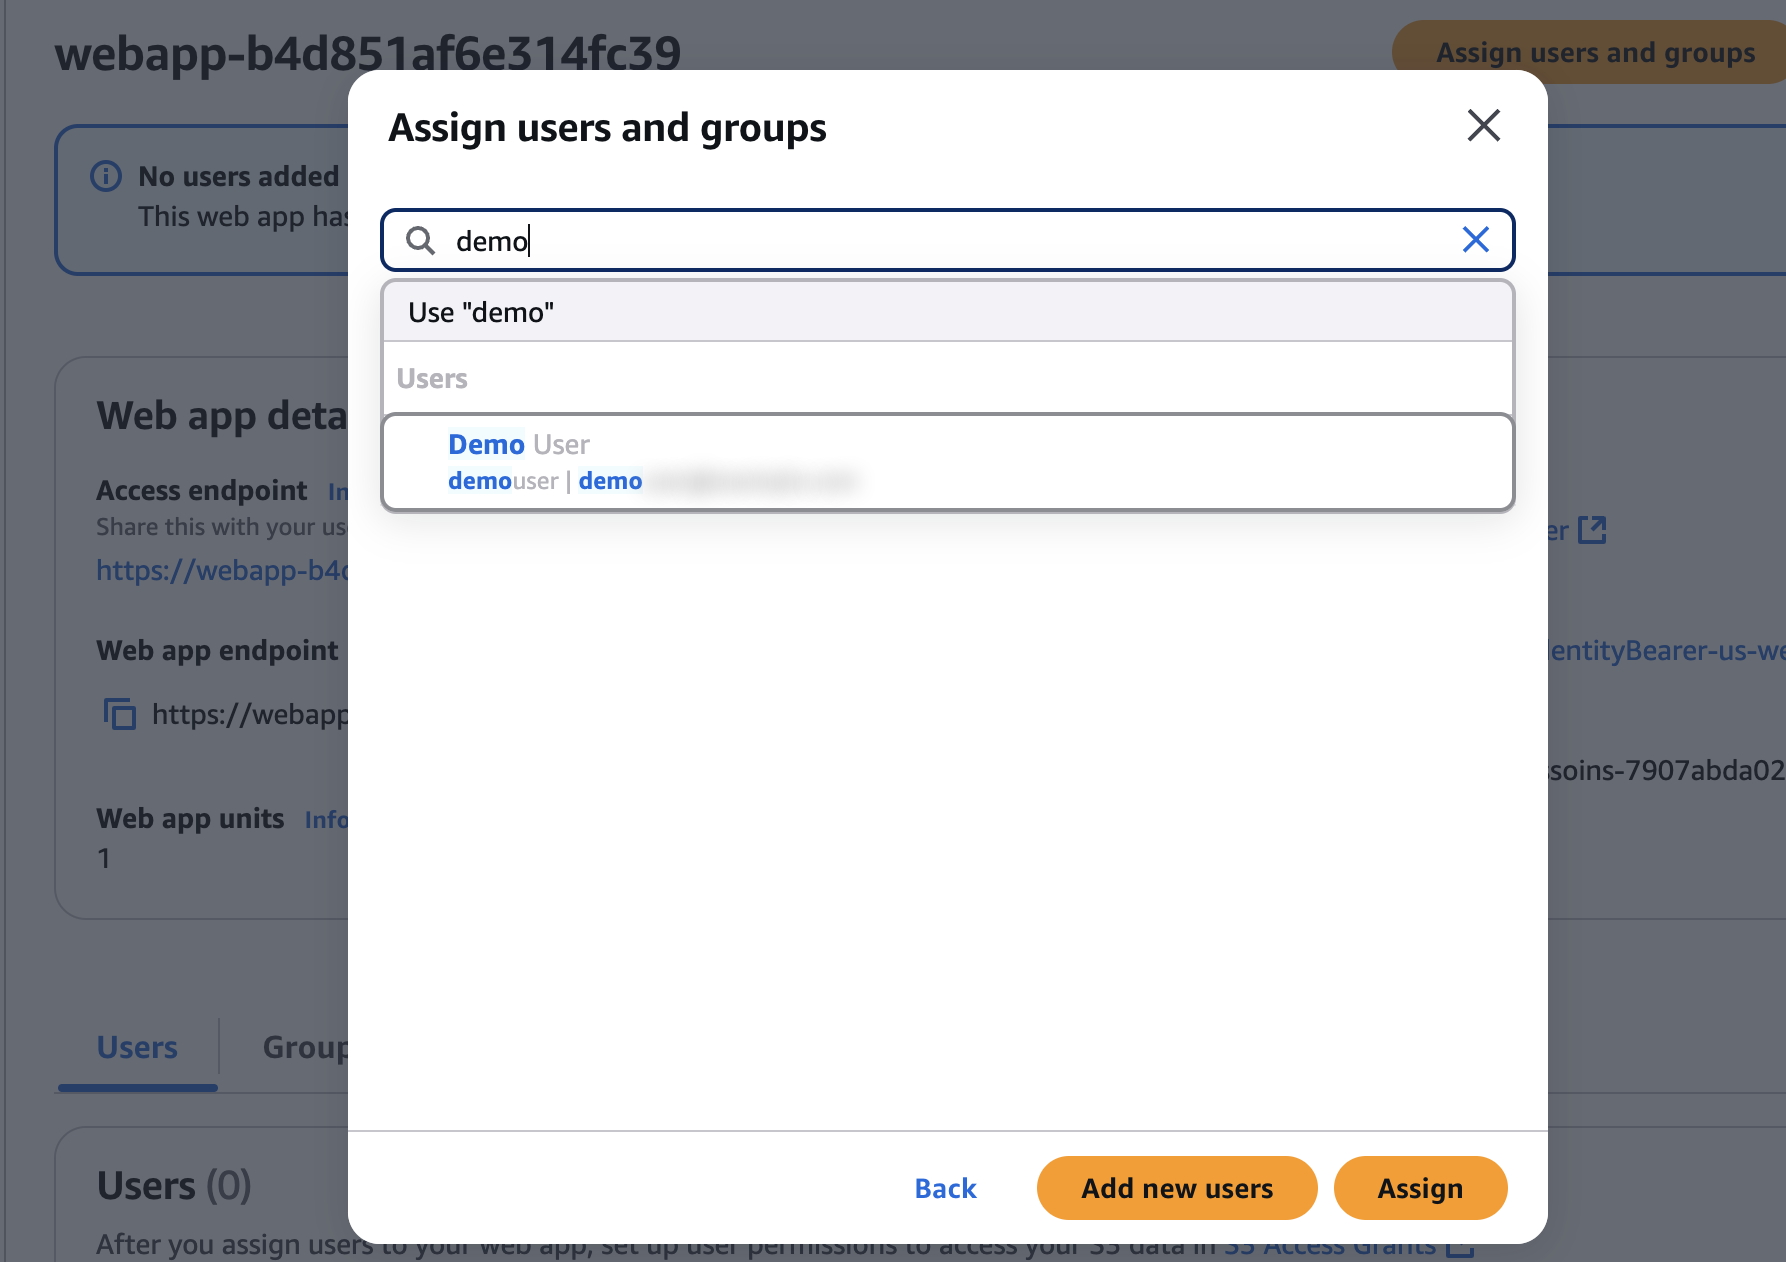
2. Assign your user
In the pop-up window, search for your user.
Select your user and choose Assign. (The user created in the prerequisite tutorial Setting Up Your Environment.)
Note: If you need to confirm the name of your user, go to the IAM Identity Center, and select Users.
3. Get your instance ARN and user ID
In the Web app details pane, copy the Instance ARN as you will need it when you enable cross-origin resource sharing.
On the Users tab, for your user, copy the User ID as you will need it for the next task.

Conclusion
In this task, you’ve learned how to create an AWS Transfer Family web app and assign a user to the app.
Next Steps
Task 2: Set up Cross-origin resource sharing (CORS)
Did you find what you were looking for today?
Let us know so we can improve the quality of the content on our pages