Networking & Content Delivery
Secure internet-based access to SaaS PrivateLink endpoints using AWS Verified Access
Introduction
As cloud adoption grows, software-as-a-service (SaaS) providers on AWS are increasingly using Amazon Web Services (AWS) PrivateLink to securely deliver services to their customers. PrivateLink enables seamless, private connectivity between VPCs without exposing applications to the public internet, which makes sure of strong security and consistent network performance.
However, what if you want to offer this same secure access to users outside of AWS, such as employees working remotely or partners connecting over the internet? AWS Verified Access has makes it possible to extend PrivateLink-backed services to authorized users over the internet—all while maintaining strong security boundaries and a zero trust architecture.
In this post, we explore how to enable secure, scalable, internet-based access to PrivateLink endpoints using Verified Access. This allows organizations to extend their SaaS integrations to users anywhere—without compromising security.
This post assumes that you’re familiar with the fundamentals of AWS Verified Access, and thus we do not cover the basics.
Solution overview
We begin by examining a scenario involving secure access to an SaaS application. In this case, a SaaS provider makes their application available through a PrivateLink endpoint service, while a consumer establishes an interface VPC endpoint within their VPC to connect to this service. This is shown in the following architecture diagram. The challenge arises when users within the consumer’s organization need to access this service from outside of AWS, such as over the internet. We implement Verified Access as a solution to establish this connection securely because interface endpoints are only accessible from within the VPC or connected networks such as hybrid connectivity (over AWS Site-to-Site VPN or AWS Direct Connect). This solution does not cover cross-Region PrivateLink. Instead, we focus on same-Region connectivity.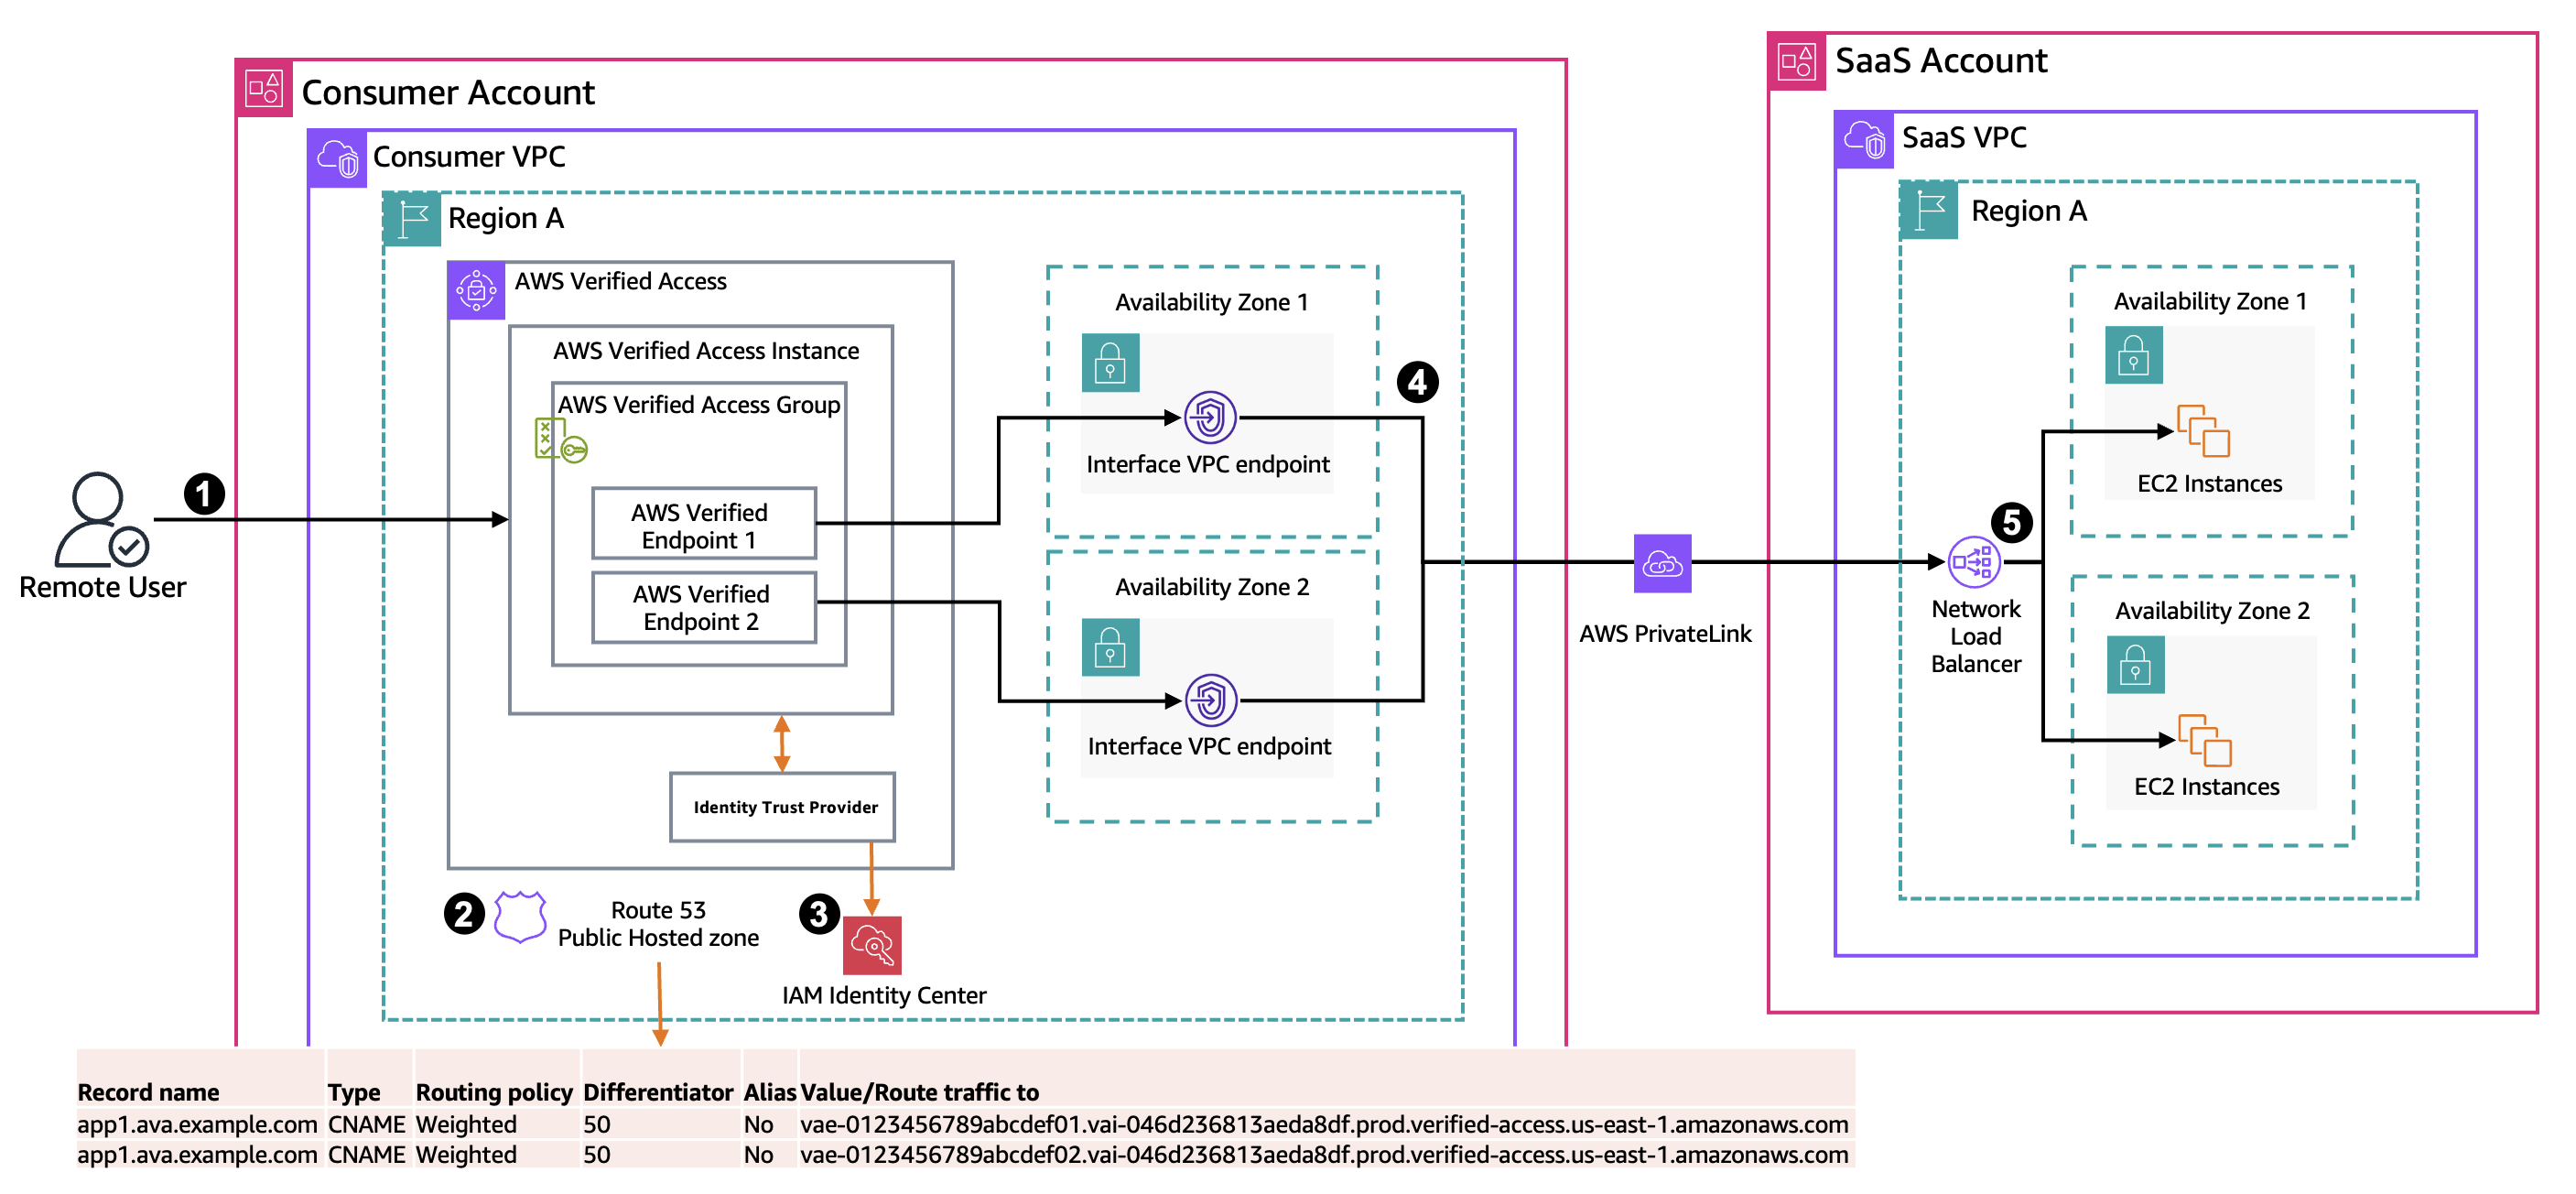
Figure 1: Architecture diagram showing the user’s request using Verified Access endpoints to a SaaS service hosted in a SaaS account
Using Verified Access means that the traffic flows as follows:
- A remote user with Verified Access (Connectivity Client) installed makes a request to the public URL provided by the owner of the consumer VPC that points to the AWS Verified Access endpoints. Verified Access Connectivity Client enables connectivity between user devices and non-HTTP(s) applications.
- In the consumer account, there is an Amazon Route 53 public hosted zone that contains a weighted routing record that load balances the traffic between the two AWS Verified Access endpoints. Each Verified Access endpoint targets a specific interface VPC endpoint
- The user is authenticated using AWS IAM Identity Center.
- The request from the interface VPC endpoints is forwarded through PrivateLink to the Network Load Balancer (NLB) in the SaaS VPC.
- The NLB routes the traffic to the backend Amazon Elastic Compute Cloud (Amazon EC2) instances that are hosting the application.
Solution implementation
The following steps walk you through this solution.
Step 1: SaaS provider VPC—set up PrivateLink service
- Create a service powered by PrivateLink known as an endpoint service, as shown in the following figure.
- For our example, this service is hosted on EC2 instances that are fronted by an NLB.
- Make the endpoint service available to service consumers.

Figure 2: VPC endpoint services showing registered NLBs
Step 2: Consumer VPC—create interface VPC endpoint
- In the consumer VPC, create an interface VPC endpoint for the service name that you created in Step 1, as shown in the following figure.
- For high availability, create the endpoint in at least two Availability Zones (AZs).
- Note the Elastic Network Interface (ENI) IDs created by this endpoint, because they are needed in later steps.

Figure 3: VPC endpoints in the consumer VPC and the subnets in which they are deployed
Step 3: Consumer account—create AWS Verified Access
- Create a user-identity trust provider for Verified Access.
- In our example, we are using IAM Identity Center, as shown in the following figure.

Figure 4: Verified Access trust provider type is IAM Identity Center
- Create a Verified Access instance, as shown in the following figure.
- When creating the Verified Access Instance, you can associate it with the trust provider that you created in the preceding step.

Figure 5: Verified Access instance is using iam-identity-center as User type
- Create a Verified Access group, as shown in the following figure.
- Assign this group to the Verified Access instance created previously.
- Define a Verified Access group policy to manage access. In our example, we allow access to verified email addresses from the @amazon.com.

Figure 6: Verified Access group policy
- Create a network interface endpoint for Verified Access:
- Choose the Verified Access group that you created previously.
- For Protocol, choose TCP.
- For Port ranges, enter “443-443”.
- For Network interface, choose the ENI ID of the interface VPC endpoint that you created in Step 2. You need to create one Verified Access endpoint for each ENI. When completed, you should have two Verified Access endpoints, as shown in the following figure.

Figure 7: Verified Access endpoint details
When you have completed these steps, each Verified Access endpoint has its unique DNS name. Note these names, because we use these to configure the public hosted zone in Route 53. The following figure shows how to locate the generated endpoint domain name.

Figure 8: Verified Access endpoint domain name
Step 4: Create a DNS for your application
- Create a weighted record in the Route 53 public hosted zone.
- Each Verified Access endpoint has its own CNAME record, as shown in the following figure.

Figure 9: Route 53 hosted zone with CNAME records
Accessing the application using AWS Verified Access
When the Verified Access endpoint becomes available, you can access the application using the Connectivity Client. Users must first download and install the latest version of Connectivity Client on their preferred operating system (Windows or macOS). Before proceeding, uninstall any previous versions of the client. Prior to signing in, users must export the client configuration file, which can be done through either the Amazon Virtual Private Cloud (Amazon VPC) console or AWS Command Line Interface (AWS CLI). Then, the configuration files must be deployed to specific locations:
- For Windows:
C:\ProgramData\Connectivity Client - For macOS:
/Library/Application\ Support/Connectivity\Client
After completing these steps, users can launch the Connectivity Client and authenticate themselves through the provided interface, as shown in the following figure.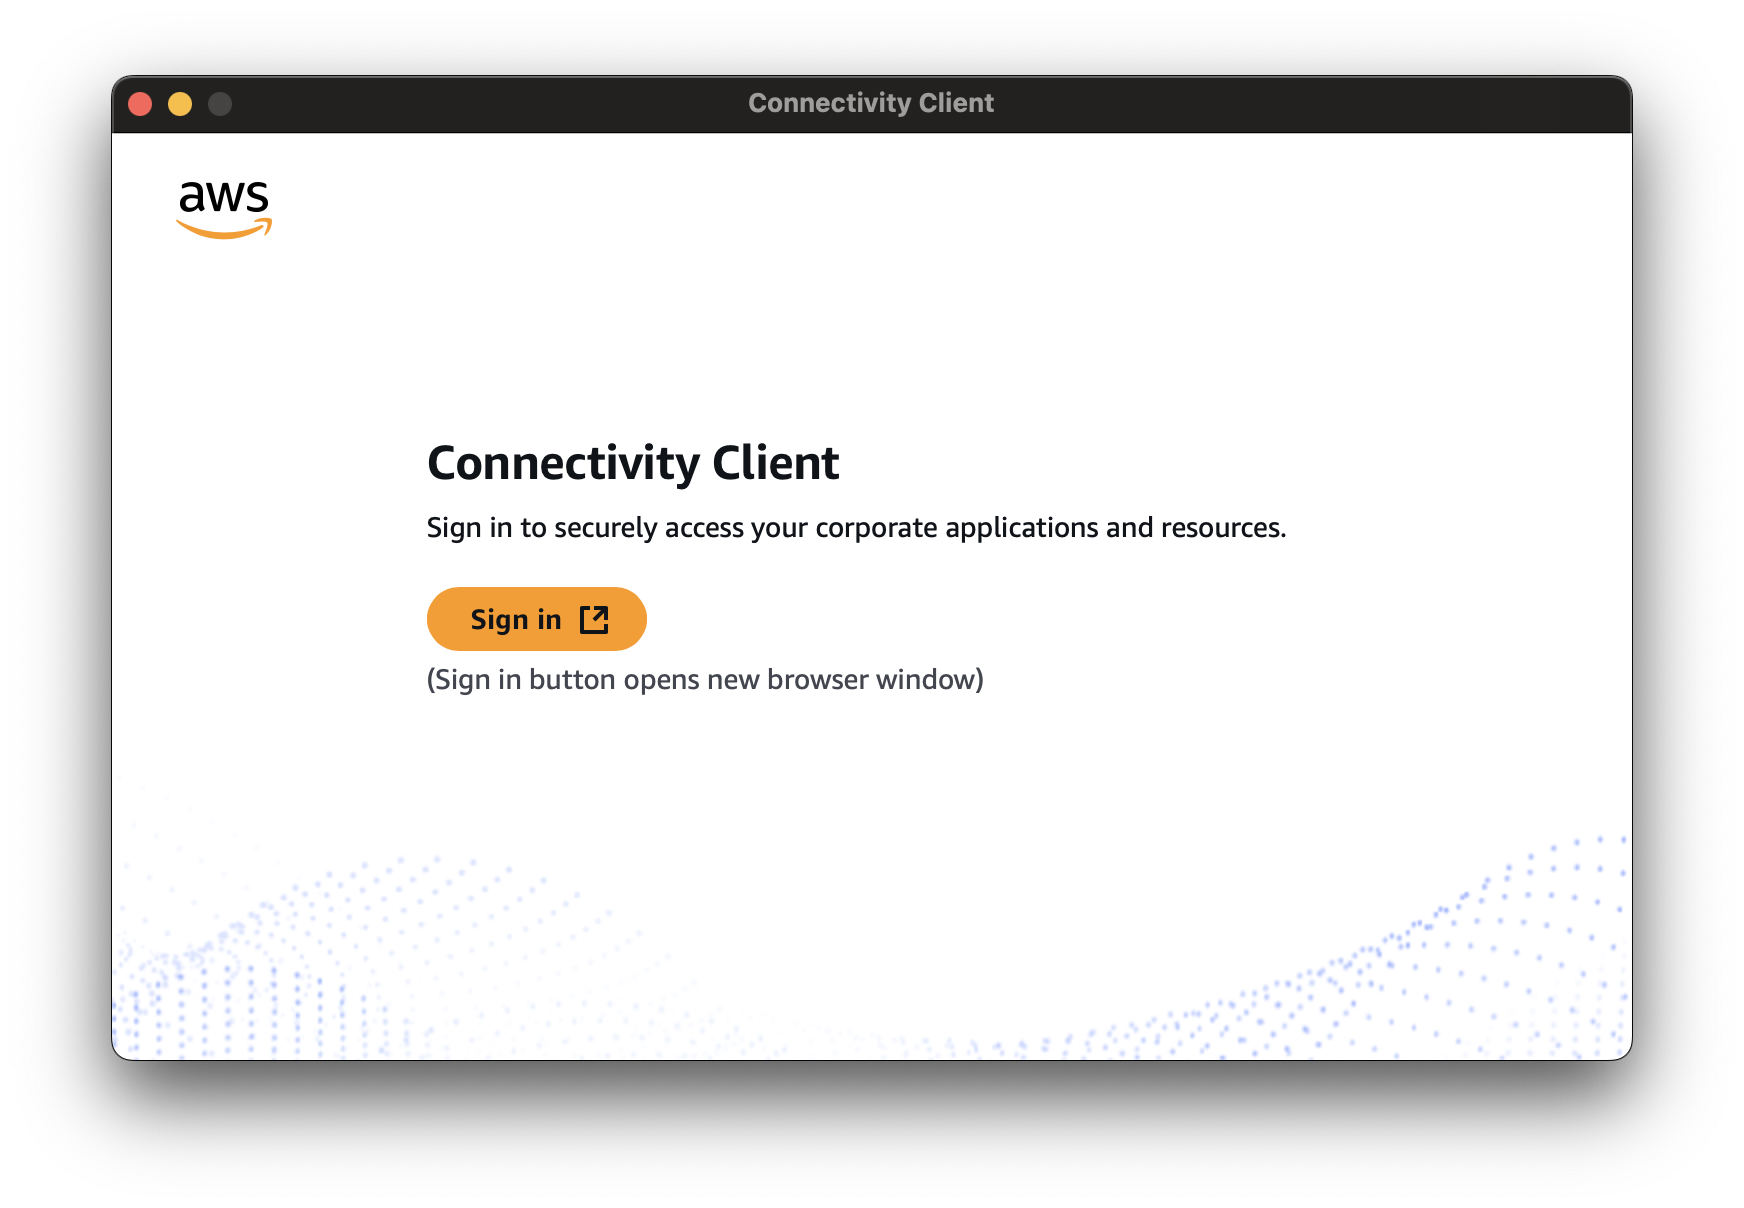
Figure 10: Connectivity Client Sign in screen
When you have chosen Sign In, a browser window prompts you to enter your username and password. Then, you see a permission request asking, Allow Connectivity Client to access your data?, which needs your confirmation to proceed.
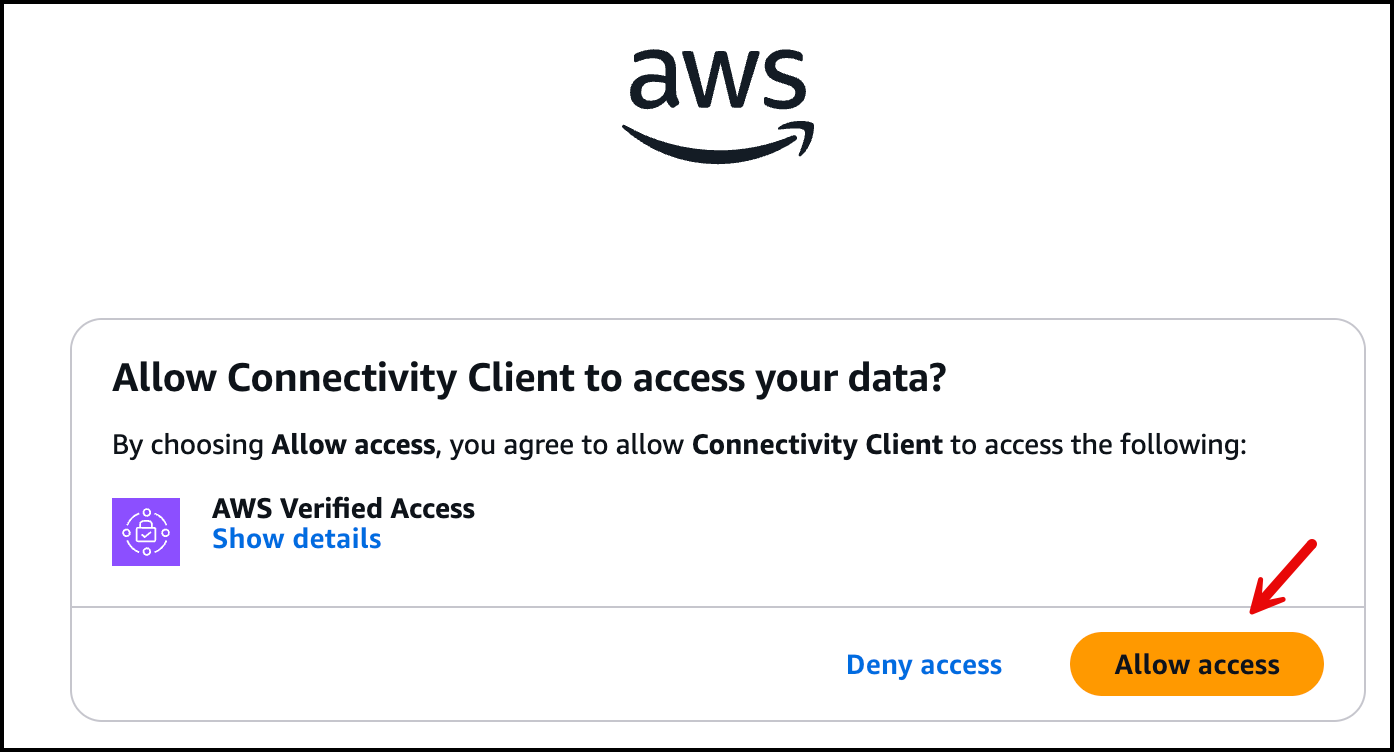
Figure 11: Allow Connectivity Client to access your data
After choosing Allow access, your authentication is complete, as shown in the following figure.
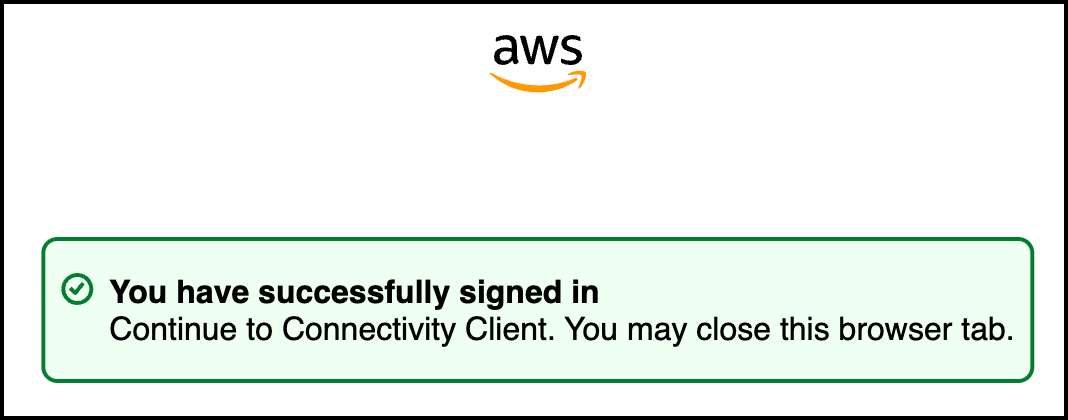
Figure 12: Connectivity Client once you have successfully signed in
The Connectivity Client window updates to display a Connected status, indicating that authentication was successful, as shown in the following figure.

Figure 13: Connectivity Client status when it is connected
This process enables secure and verified access to the application. After authentication, the client establishes a secure channel to the Verified Access endpoint. Subsequently, all traffic is routed through the ENI, which connects to the SaaS provider through PrivateLink. This streamlined workflow makes sure of a secure and efficient connection between the user and the application, using AWS services and security features.
To access the application from your browser, navigate to the URL record that you created in the Route 53 public hosted zone. The following figure shows that users can now access the application hosted in the SaaS provider’s VPC on EC2 instances behind a private NLB.
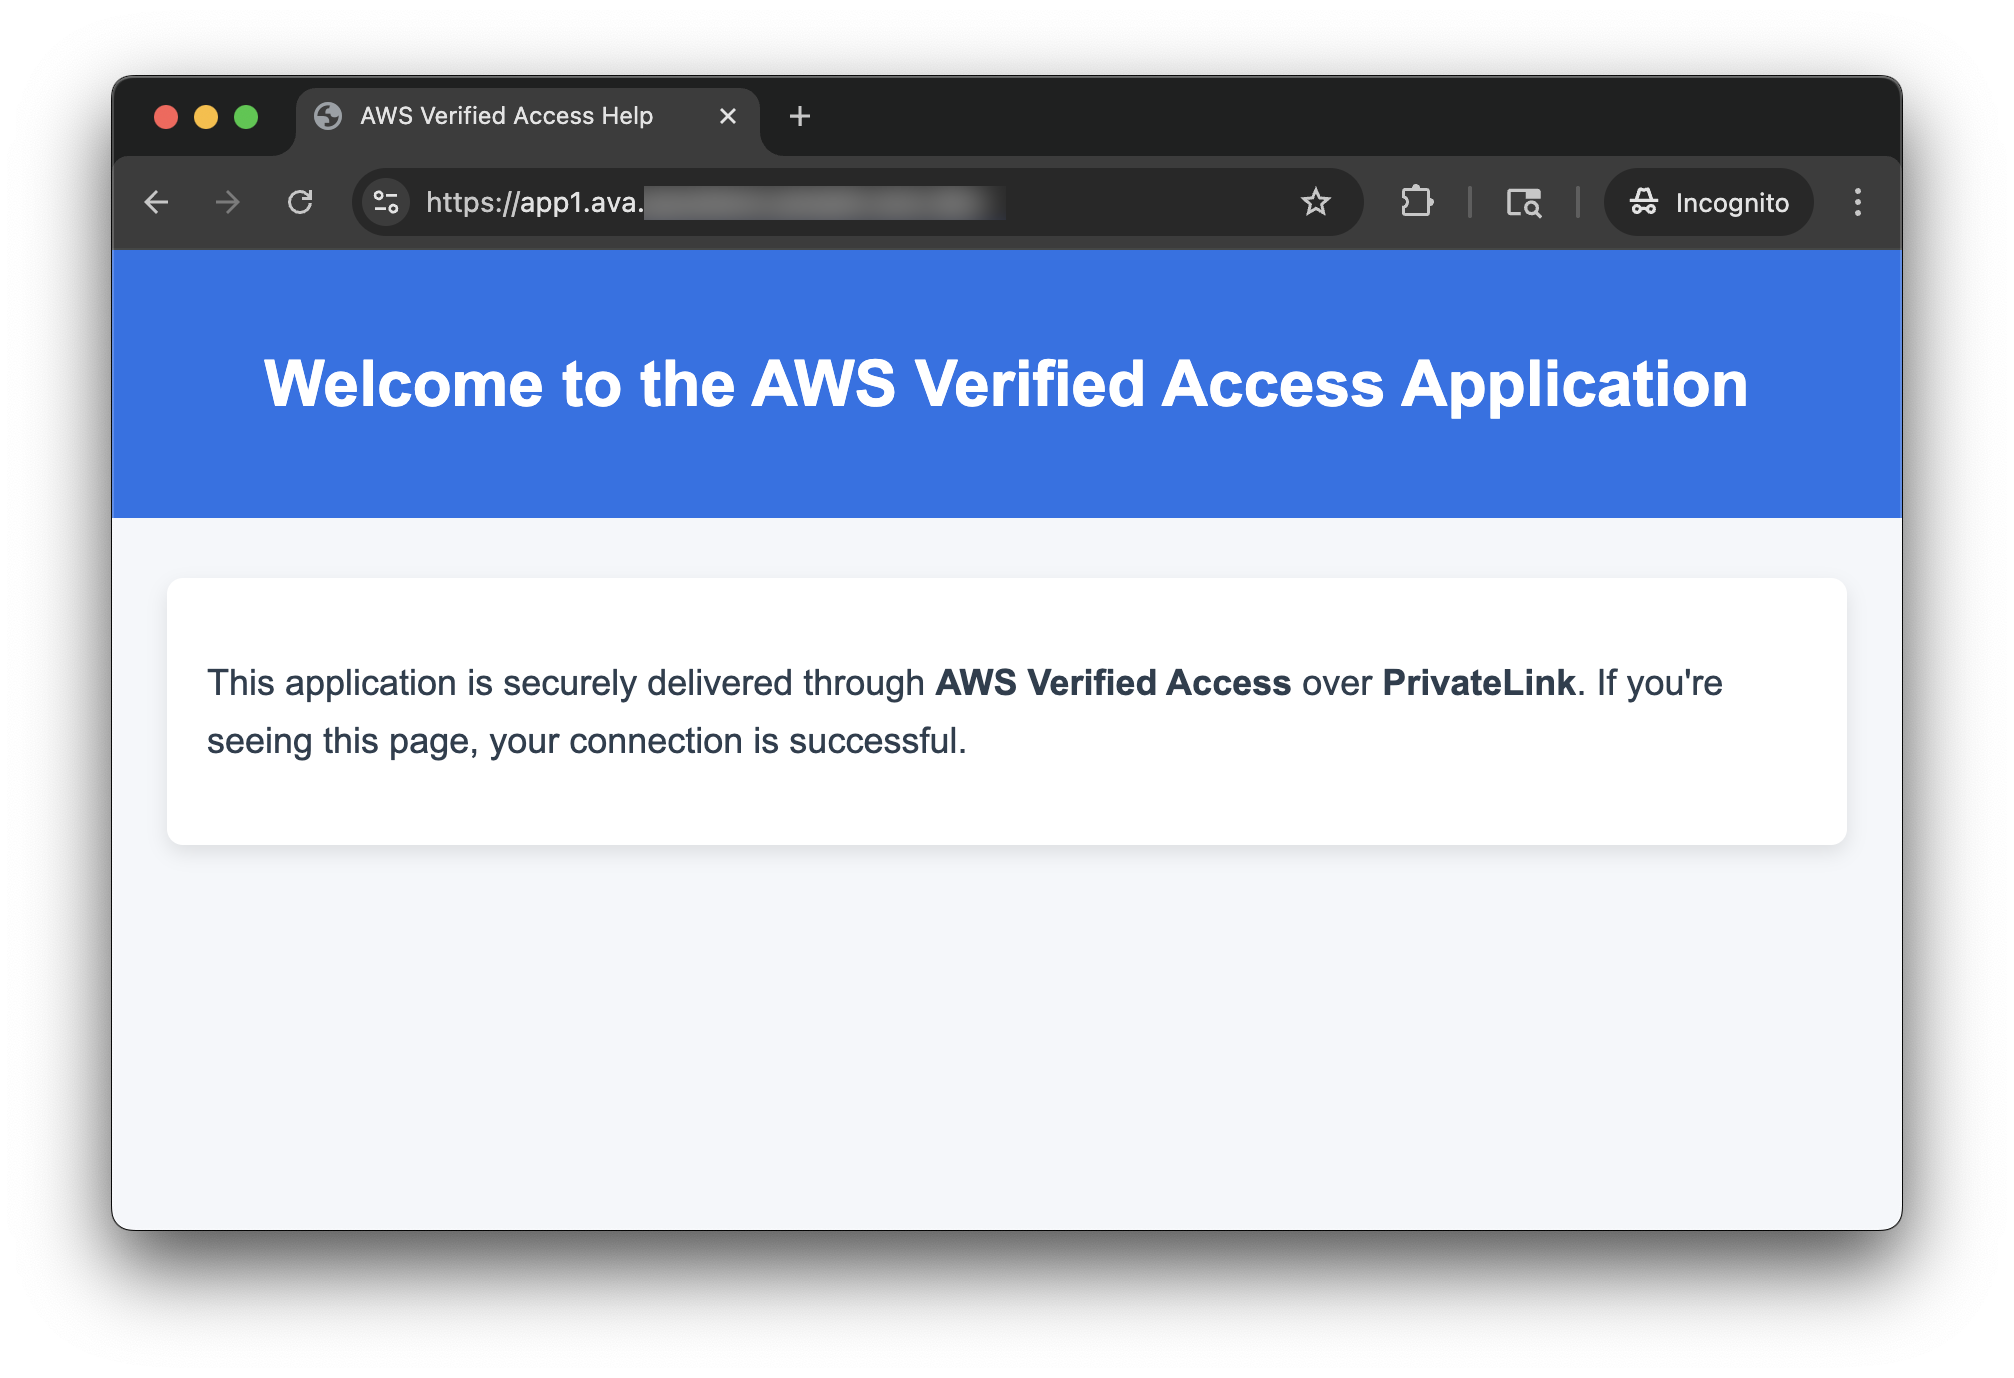
Figure 14: Welcome screen of the SaaS service delivered through Verified Access over PrivateLink
Conclusion
AWS Verified Access provides a new way to establish secure, scalable, and internet-accessible connectivity to internal AWS resources, such as PrivateLink-based SaaS endpoints. Combining the capabilities of PrivateLink and Verified Access allows enterprises to create end-to-end secure application access workflows that are both direct and compliant.
If you’re a SaaS provider or consumer seeking to enable secure external access to PrivateLink services, then Verified Access offers a powerful solution with minimal operational overhead. Begin today with Verified Access features that enable access to resources over non-HTTP(S) protocols.
About the authors

Salman Ahmed
Salman Ahmed is a Senior Technical Account Manager in AWS Enterprise Support. He specializes in guiding customers through the design, implementation, and support of AWS solutions. Combining his networking expertise with a drive to explore new technologies, he helps organizations successfully navigate their cloud journey. Outside of work, he enjoys photography, traveling, and watching his favorite sports teams.

Ankush Goyal
Ankush Goyal is a Senior Technical Account Manager at AWS Enterprise Support, specializing in helping customers in the travel and hospitality industries optimize their cloud infrastructure. With over 20 years of IT experience, he focuses on leveraging AWS networking services to drive operational efficiency and cloud adoption. Ankush is passionate about delivering impactful solutions and enabling clients to streamline their cloud operations.