AWS Compute Blog
Implementing Federation on Amazon MQ for RabbitMQ Private Brokers
Federation in RabbitMQ helps in message exchange and flow across multiple RabbitMQ brokers. Amazon MQ for RabbitMQ allows federated exchanges and queues via the Federation Plugin. The federation plugin enables a downstream broker to consume a message from an exchange or a queue on an upstream. This is used to connect multiple RabbitMQ brokers and provides multiple benefits like scalability, allowing to scale out the messaging infrastructure horizontally across multiple nodes or clusters. It also provides high availability for message replication across brokers for redundancy and the ability to segregate based on security or other criteria. These benefits allow federation to be used for the below use cases:
- Multi region deployments
- Hybrid cloud deployments
- Disaster recovery
- Migrating from on-premises to cloud
Currently, the federation plugin on Amazon MQ for RabbitMQ connects to publicly available upstream brokers only. This post explains how to implement federation for Amazon MQ RabbitMQ Private Brokers using Network Load Balancers (NLB). The steps allow private brokers to communicate with each other to create a distributed system.
Overview
In this solution, you will use two single-instance brokers to implement federation with private brokers.

- Create two Amazon Virtual Private Cloud (VPC) – one for upstream broker and one for downstream broker. Each VPC has a private and a public subnet along with internet gateway, security groups, route tables.
- Create Amazon MQ RabbitMQ private brokers in the private subnets of each VPC. The broker actually resides in an account that is owned by the Amazon MQ Service, in a private subnet with a Network Load Balancer (NLB) in front of it. The NLB is used to access the broker from your account using the Elastic Network Interface (ENI) associated with the VPC Endpoint for the NLB.
- Create a NLB pointing to the ENI for the upstream broker. The security group associated with the NLB is used to restrict traffic to only the NAT IPs associated with the downstream broker. The upstream broker that was accessible only privately will now be connected to the public internet with IP allow listing and messages will potentially transit the internet.
- Create an Amazon EC2 Instance in the downstream VPC in the public subnet to connect to it and setup the federation. You need the EC2 instance only for the setup and testing.
- Send a message to the upstream broker using the NLB endpoint, the message is also available to the downstream broker for consumption.
Prerequisites
The following are the prerequisites for this setup:
- Access to an AWS account.
- An AWS IAM user/Principal with the required permissions to deploy the infrastructure.
The stack creates two new VPC. Make sure that you have fewer than five VPCs in the selected region. You increase this limit using Quotas.
Deploying the solution
You will deploy the solution using AWS CloudFormation:
The high-level steps are the following:
- Deploy the broker CFN stack to create VPCs, subnets, internet gateway, security groups and route tables, along with the Amazon MQ RabbitMQ brokers
- Get the IP address of the private upstream broker created in the broker stack
- Open AWS support case to get the IP to allow for the NLB
- Create an NLB Stack with the Network Load Balancer and rules for accessing it using AWS CloudFormation
- Set up the federation between the Amazon MQ RabbitMQ brokers and testing the setup
This solution is available on GitHub in the AWS Samples repository.
Step 1: Deploy the AWS CloudFormation template for the broker stack
- Go to the CloudFormation Console and choose Create Stack. Choose With new resources (Standard) from the drop down.

- For Prepare template, choose an existing template and then for Specify template, choose Upload a template file and use this template file

- Provide a Stack name (such as BrokerStack).

- Update the username and CIDR Blocks provided as parameters to the stack or leave them as defaults. For ease of setup, this template uses EC2 with managed prefix lists for EC2 Instance Connect for five regions: us-east-1, us-west-1, us-west-2, eu-west-1 and ap-south-1. Add prefix lists for other regions in the template to run this cloud formation template in those regions.
- Choose Next and leave everything else as defaults.
- Choose Submit.
The broker stack deployment takes 10 -15 minutes.
The template creates two VPCs along with a private and public subnet on each VPC with internet gateway, security groups and route tables. It also creates two private brokers in each VPC along with an EC2 Instance (t2.micro) on the downstream VPC.
Step 2: Retrieve the IP Address for the private upstream broker
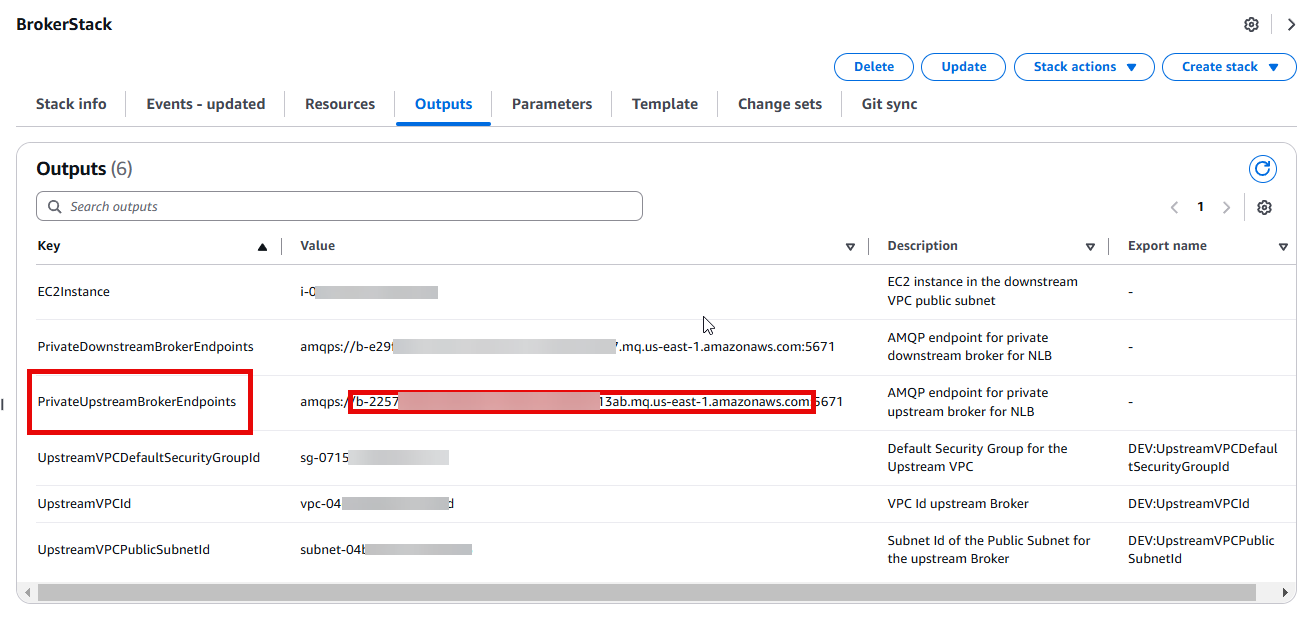
- Once the above stack creation is complete, navigate to the Outputs tab for the stack and copy the output for PrivateUpstreamBrokerEndpoints.
- Extract only the host name from the “PrivateUpstreamBrokerEndpoints” in the output from above.
- Resolve the hostname using the following commands.
Linux or MacWindows
Take note of the IP address. You will use it in later steps.

Step 3: Create a support case to get the Amazon MQ Rabbit MQ Downstream Broker NAT IPs
Create a support case with AWS Support to get the NAT IPs associated with the downstream MQ Broker. Provide the broker Amazon Resource Name (ARN) and explain your use case and the need to do federation allow listing in the description. Use this IP address to allow the Network Load Balancer to be accessed from particular IPs only.
Step 4: Deploy the AWS CloudFormation template for NLB Stack
- Go to the CloudFormation Console and choose Create Stack. Choose With new resources (Standard) from the drop down.

- For Prepare template, Choose an existing template. For Template source, choose Upload a template file and choose this template file.

- Choose Next.
- Under Specify stack details provide a Stack name (such as NLBStack).

- Use the IP Address from Step 2 and Step 3 above in the parameters and choose Next.
Make sure that the NAT IP Address is a valid CIDR range like 52.0.0.1/32. - Keep the rest as defaults and choose Next again
- Choose Submit.
The template creates a Network Load Balancer with 2 target groups and a Security Group for it and adds rules to the Upstream Default Security group.
Step 5: Configure Federation in the downstream broker
- Use the Upstream Broker NLB URL output from the NLBStack and replace it in the following export commands along with the Downstream Broker Uri from the output of the BrokerStack.
- From the AWS Console, search for AWS Secrets Manager and choose Secrets. You will find 2 secrets with names as
DownstreamBrokerUsernamePasswordandUpstreamBrokerUsernamePassword. Open one of them and choose Retrieve Secret value to get the passwords and usernames for the brokers. Repeat for the other one. - Replace values for
Upstream_Broker_Username,Upstream_Broker_Password,Downstream_Broker_UsernameandDownstream_Broker_Passwordin the following commands. - From the EC2 Console, select the EC2 instance created as part of the Broker Stack in Step 1. Choose Connect and login to the instance using EC2 Instance Connect. Once connected to the terminal, paste the above lines with replaced values to create the federation upstream and the policy associated with it.
Step 6: Create TestExchange and Test Queue and Bind them
- Run the following steps to create a test exchange, a queue, and the binding for them. Replace values for Downstream_Broker_Username and Downstream_Broker_Password.
Step 7: Validate Federation Status and Test Federation between brokers
- Check the Federation status by running the following command while still connected to the EC2 in the same session. Replace values for Downstream_Broker_Username and Downstream_Broker_Password.
The output will look like the below with status as running.
- (Optional) Send a test message now. Since you restricted the Upstream Broker NLB to only receive traffic from the Downstream broker (via the IP Address received from the support case), you will need to manually allow the EC2 Public IP Address in the NLB Security Group that was created for port 443 to perform the below step. You will also need to allow the egress from EC2 to access the NLB.
Once the message is sent it will show up as routed: true. This means that the message routed to the downstream broker successfully.
- Use the following command to validate the message on the downstream broker. This should show the payload that you sent earlier.
Output:
Cleanup
This section provides information for deleting various resources created as part of this post.
- Delete Stack NLBStack created as part of Step 4. For instructions, refer to Deleting a stack on the AWS CloudFormation console.
- Delete the BrokerStack created in Step 1.
Conclusion
This post explained how to implement federation for Amazon MQ RabbitMQ private brokers. You can extend this solution to RabbitMQ brokers in a cluster deployment, same as a single-instance broker. With federated exchanges, you can create a distributed system of RabbitMQ brokers to improve reliability and scalability of the messaging system. You can also use this as a template for hybrid architecture to move messages from a private on-premises broker to the cloud as explained in Migrating message driven applications to Amazon MQ for RabbitMQ. Get more details on Federation plugin from official documentation of RabbitMQ. Get more details on Amazon MQ for RabbitMQ in our developer guide.